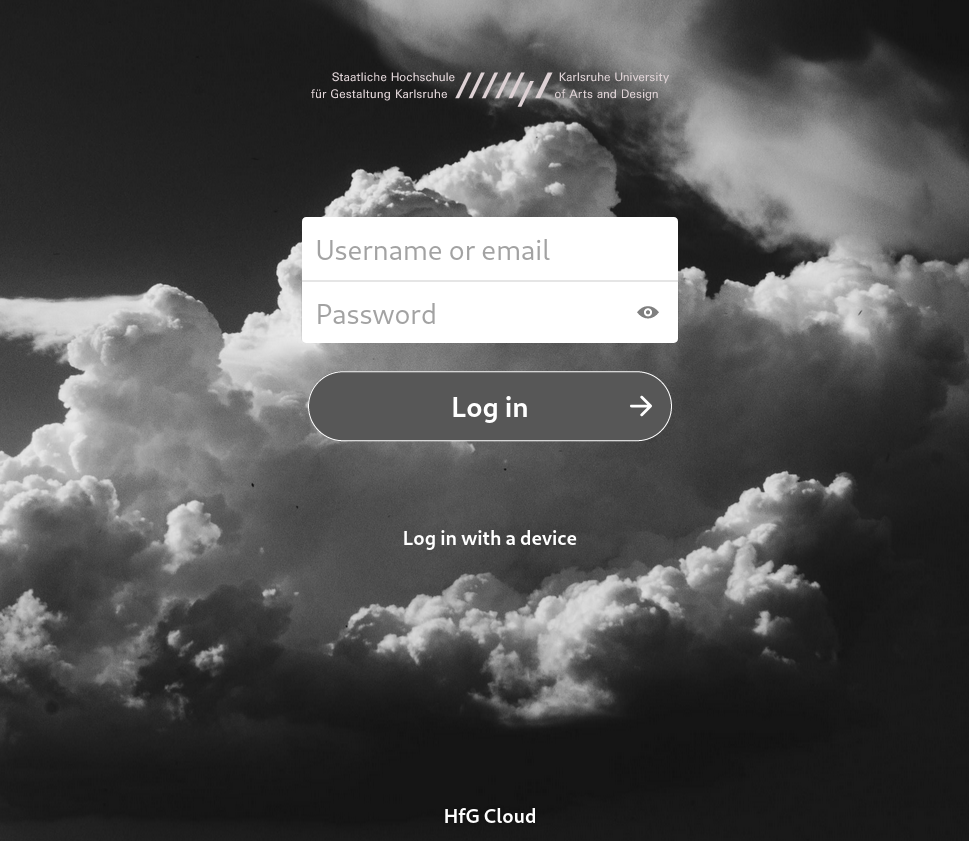
There are different ways of accessing the HfG Cloud: through the website (or speaking precisely, through the web interface) with your browser or through a client:
- The website is the best option if you need to access your files from a computer that is not yours (if you do it, use a “private mode”, don’t save your password and log-out when you’re done) or if you need to configure things.
- Nextcloud client is probably the best way if you are working in your computer and you want to have everything synchronized.
Acessing the HfG Cloud through web
You can use your browser to access the webinterface. Just go to cloud.hfg-karlsruhe.de and you will find something like:

You need to write:
- your full Email with @hfg-karlsruhe.de
- your password.
Your password is the same as the E-Mail: (see also: changing the password)
The Nextlcoud client
Another way of acessing the nextcloud is through a client, a small programm that synchonizes the files in your device (your computer, your laptop) and the server. When people is saying that their prefer Dropbox, GoogleDrive or Microsoft One Drive because “everything just updates automatically” they mean that they prefer to have a client installed in their client. These people should be very happy, because that’s possible in the HfG cloud too!
There are two steps, both quite easy:
- Download and install the client in your device
- Configure the connection with the server
1. Download and install the Nextcloud-client
Go to https://nextcloud.com/install/#install-clients and select your download:
On a computer
Select the option “Download for desktop” and the window with the different operative systems will open.

Select yours, download the file and install it (normally just double-clicking after download). If you are using GNU/Linux, you can install it nextcloud-client directly from the central repositories of your operative system, or download the Appimage and make it executable sudo chmod +x.
On a smartphone or tablet
It’s almost the same but what you want to download is the Nextcloud Files (Nextcloud Talk is a chat program). After that you will see the different “AppStores” from which you can install it. One of them should sound familiar.

Probably some window from your app store will pop up and ask you permission to install the Nextcloud app. Just follow what it said.
2. Configuring access to your HfG-Cloud
The first step was not so complicated, wasn’t it? Now We need to tell the program where it should connect, and with which username and password and where it have to put the synchonized files. You probably guessed, you can just write that information, but there’s a way really cooler to do that and that’s even practical for smartphones and tablets. And also more secure, and yes, that’s the one (and only) we will explain. So, seat down and enjoy the App password approach.
App password
You could give your password to your App, but what if you lost or somebody took your device? You will have some problems: You don’t have your device, that person will have access to your information and could manage to know or change your password, not allowing you to access your data. That sound really bad (especially if you are using the same password for other things…). How to avoid it?
You can create a password just for your app. A really long and complicated one: you will not remember it, but the program will. If someone took your device, you will be able to deactivate the connection erasing the password (the correct term for that is revoking). It will take you just few clicks to create such a gorgeous construct:
- With your browser, go to your account in Nextcloud, log in and click on your profile photo or the letter in the top right of the menu.
- On the panel on the left, select security.
- Focus on Devices and sessions: Here are listed all the connections (devices or apps) to your account. If you see lot of strange things, that may be a clue that someone is accessing your account. To do that, click on the trash bin or the three points on the right, and then select revoke.

- Below them, at the bottom, you will see a field where you can write in which you can read App name and a “Create new app password” Button.

Yes, just write something that help you identify the app or device you are giving permission (“My phone”,”home-computer”,”work-computer”) and click on the button. It may ask your password. After that, under the button a username and a password field will appear, giving you the possibility of copying it (clicking in the icon between the password and done). What’s even cooler, after the password you have a small text: “Show QR code for mobile apps”. After clicking, a QR code will appear.
But, wait, we wanted to connect the app… Sure, let’s open it:
- if you are in a tablet or smartphone, on the bottom part of the app you will have something to activate the camera (give permission) and scan the qr code. Done.
- in a computer, the server address is
https://cloud.hfg-karlsruhe.de. You may be redirected to the log-in window: select the username is your full username (you may want to copy from the App password) and the app new, long secure app password you created.
After that you will need to select which files or folders should be synchronized. As HfG-cloud accounts are generally limited to 5 GB, you could select everything and will not be too much for a computer, but in a smartphone is a good idea to be more selective.
If you get stuck, check the official documentation on the installation of the Desktop client.
If you want to know more, check also the Visual Tour of Nextcloud Client or the Guide on Using the Synchronization Client
Open the Nexctloud programm or app